Tim asked about my hydroponic tomato setup from last year, so here’s the lowdown. It’s basically the Kratky method. You’ll find more info than you ever wanted to know about it HERE.
In its most basic form there’s only a couple of things you need to pay attention to beyond getting a pot into some water. I’ve heard it referred to as the ‘set it and forget it’ method. Feel free to scale to fit your own process…
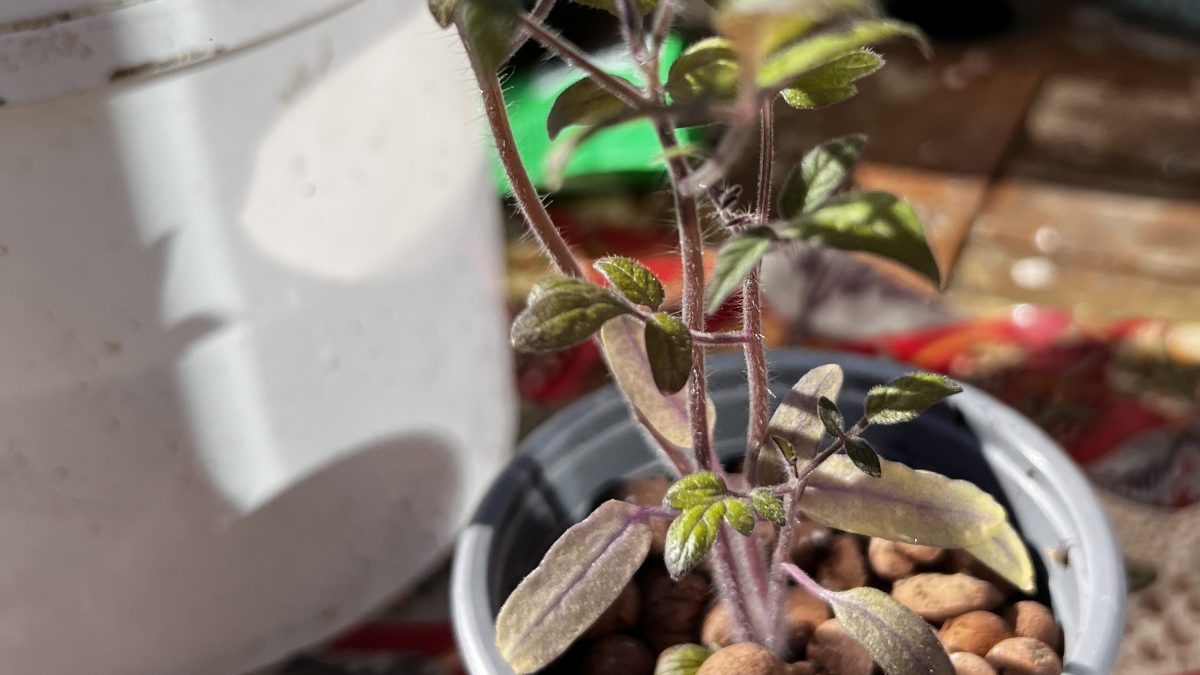
Here are the bits you’ll need: 1: A tomato plant of course: During the winter I have tomatoes left over from salads that have gone moldy or gotten squashed so rather than throw them out, I dry them in a sheet of paper towel and then later plant the seeds. I usually wait till they are about 6-8 inches tall before moving them to the hydroponics. You can wash off the dirt if you want to but I’m not trying to win any blue ribbons here and I find that a little soil helps the plant sit upright in the pot.
2) The pot: This is any plastic pot with holes in the bottom. As long as it’s smaller than the tub you’re going to put it into, it’ll work. I have used yogurt pots for this but the Mrs took a dim view of my ‘up cycling.’
3) A tub with a lid: I bought some small ceramic beads for this process, and re-used the tub to make another hydroponics tub out of it. My first one was, no kidding, a 1 gallon ice cream tub. (see earlier comment about up cycling. ) I drew a circle around the base of the pot with a permanent marker on the lid of the tub and then cut it out with some gardening shears. You want it to be a tiny bit larger than the base, but you don’t want the whole pot to extend down into the tub. You can estimate this and play with the dimensions, just leave a bit of space between the bottom of the pot, and the bottom of the tub. That’s where your nutrient bath will be.
4): Growth medium: I had some liquid tomato food around from a previous project so initially used that. Later I read on a forum someplace that you could use molasses, and that seemed to work too. Doesn’t need to be a lot, you want it to look like weak iced tea. I think there’s leeway here too, but if you use commercial stuff, follow the instructions so you don’t burn the plant’s roots in the solution.
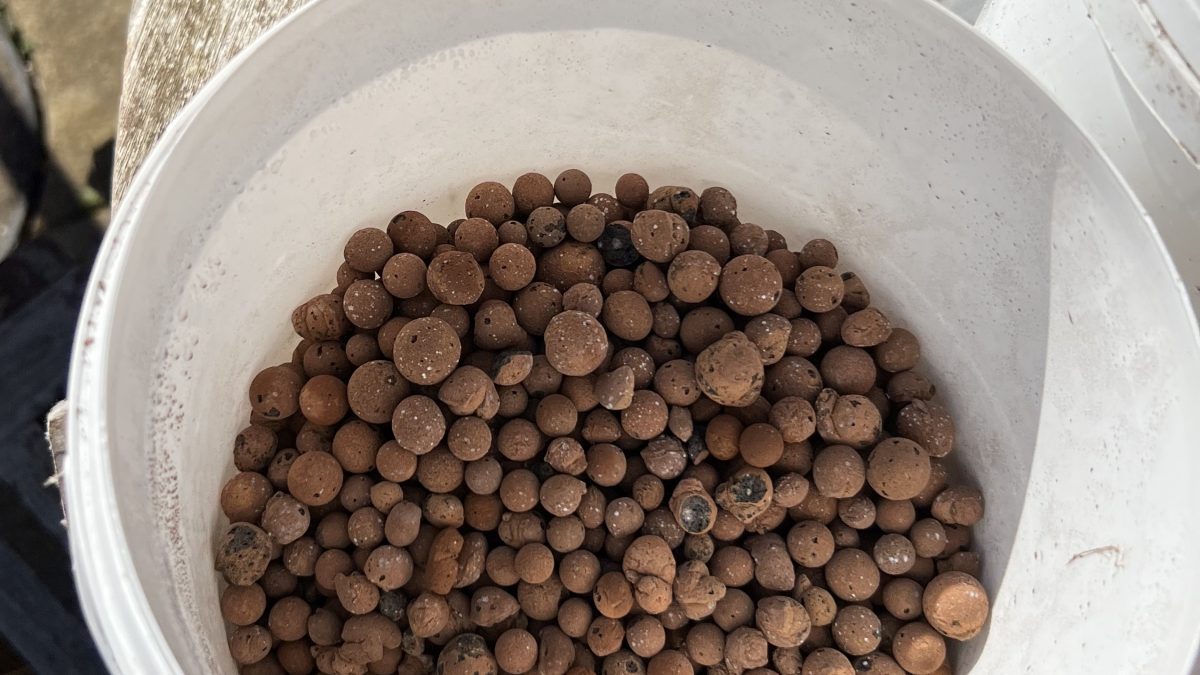
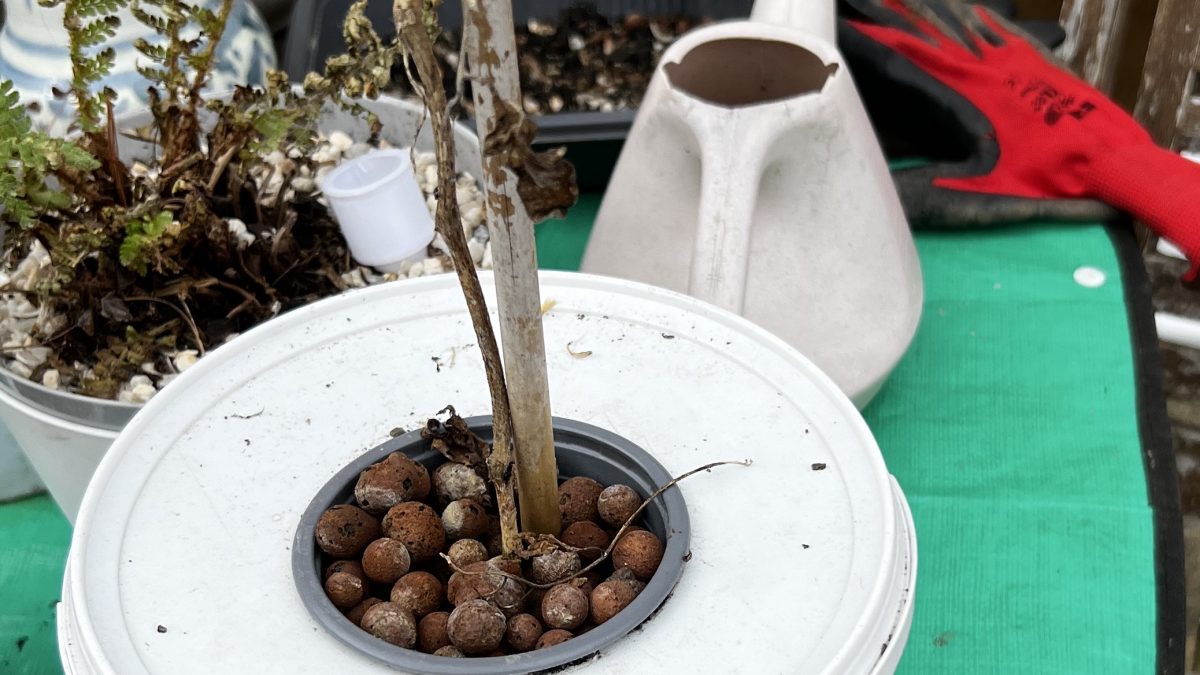
5): Support medium: As I said I’m using ceramic beads made for purpose but I’ve also used gravel or crushed up seashells, some of that Poultry grit, glass beads, whatever. Basically you want something that will support the plants and not wash away. If it’s bigger than the holes in the pot give it a try. I tried some leftover plastic from my 3-D printer but I became worried that it might leach into the water and make a problem with the tomato down the line. Tomatoes are hardy fellows, and they needs lots of water, so they tend to do well hydroponically.
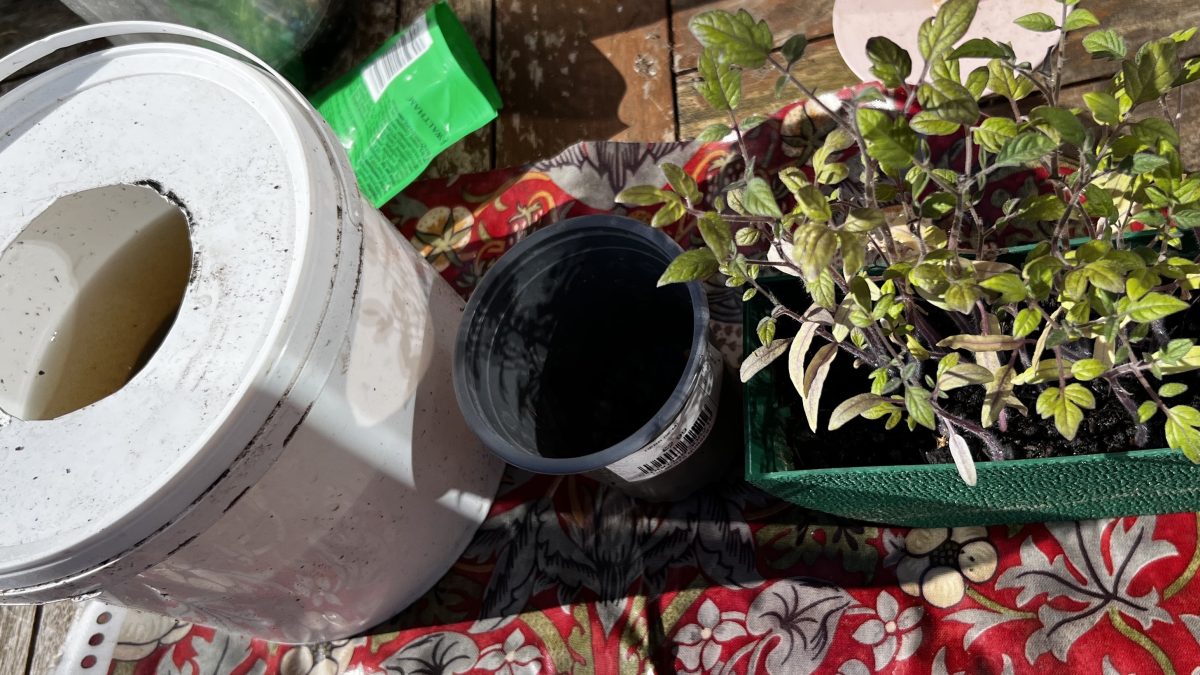
Now all that remains is for you to assemble all the bits: 1): Take the tomato plant out of the soil (and here’s where you need to pay a bit of attention.) The key to this whole process is that not ALL of the roots are under water. Some of them will need to be above the waterline so the plant doesn’t drown. Seems counter intuitive but that’s the key to Kratky method. Usually there’s a lot of roots so keeping some above the waterline isn’t a huge concern but if you’re worried you won’t be able to tell after you’ve filled the pot, use that permanent marker and draw a line on the outside of the pot about where you think halfway down the length of the root is.
2): You’ll want to put some of the pebbles into the bottom of the pot then use the rest to surround and support the plant. You won’t need to worry about the tomato plant falling over till much later.
3): Test fit the pot in the hole you made in the tub lid, and adjust accordingly. You should also note how much space is between the bottom of the pot and bottom of the tub. This will tell you how much growth medium to put in. You can make another mark on the tub if you want but don’t over think this, it’ll be fine.
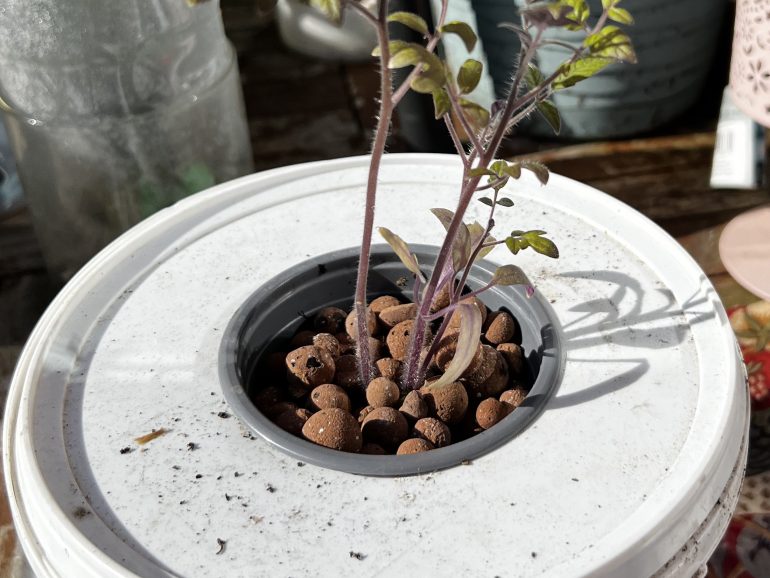
4): Put the lid on the tub and fill it with the medium. You can put the lid on a few times with the pot in it and when it gets wet, but is still below that line you drew, you’re in the sweet spot. Once you’re happy with the water level snap it all together and admire your work!
Place it somewhere it’ll get lots of sunshine, and check the depth every so often. You’ll find that the tomato will extend its roots into the tub and shoot up quickly. Everything else will be exactly like traditionally planted tomatoes. Post me some photos when you get up and running!
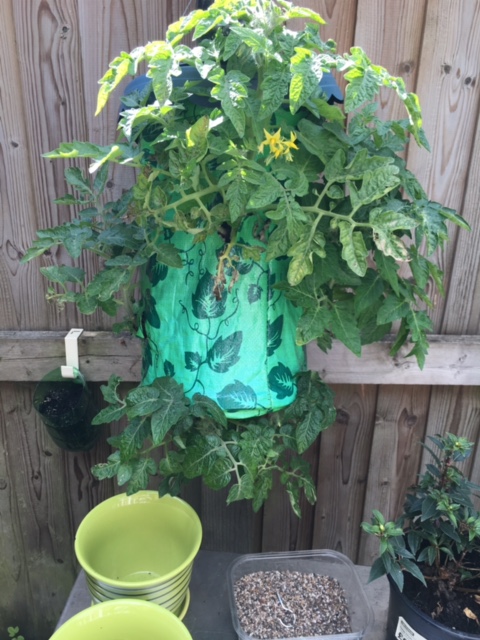
Here’s one from last year, just before I reused the pot…
I ended up with a plant that was 4 or 5 feet tall and was still giving me tomatoes in December. Part of the credit for that goes to the greenhouse, of course! Hydroponic tomatoes bear fruit slower than the ones I planted outside in the ground, but they also didn’t get eaten by slugs. So maybe do both!


You must be logged in to post a comment.